Onsite.flow cartridge with heating in the sensor area (=microarray). Thermochromic liquids are pumped through the sensor areas which get transparent upon an elevated temperature.
Our single-use microfluidic cartridges are equipped with integrated functionalities such as
The functionalities of the cartridges can be controlled electronically just by software. No external pumps and no tubing are required.
Program an assay, pipette sample and reagents into the reservoirs and press the „Start“ button.
Polymer foil with spotted microarray is placed on sensor channel of na.flow cartridge.
Both, microarrays spotted on glass and polymer slides can be used with our cartridges. We can provide functionalized polymer foils with low autofluorescence which come pre-cut to fit already to a certain cartridge.
Typically, the microarrays need to be designed to fit into a flow channel (=sensor area) of 2 to 3 mm width, which results in arrays of up to around 100 spots. With smaller spot size and pitch, also larger arrays are possible.
Typically, a good start is to use our Evaluation Kit together with standard cartridges to gain first experiences with the technology platform. We will be glad to consult you on which cartridge type fits best to your application.
We therefore recommend to discuss your application and assay with us to learn how you could use the technology platform to quickly transfer your assay and microarray to a fully integrated Lab-on-a-Chip.
Samples were prepared by lysis of clinical isolates and amplification of 16S rDNA (including labelling), followed by a purification and a digestion step to randomly shorten the DNA to smaller fragments suitable for hybridization.
After filling reagents and DNA sample into the reservoirs of a cartridge, hybridization assays as shown in the following table were run in the cartridges fully-automatically with a total time of 24-39 min.
# | Description | Time [min] |
1 | Heating sensor area / hybridization chamber with microarray to 48°C | 1 |
2 | Pumping pre-hybridization buffer | 1 |
3 | Pumping reservoirs with DNA sample and hybridization buffer simultaneously towards sensor area | 15-30 |
4 | Switching off heaters to cool-down sensor area | 1 |
5 | Pumping three reservoirs with wash buffers | 2 + 2 + 2 |
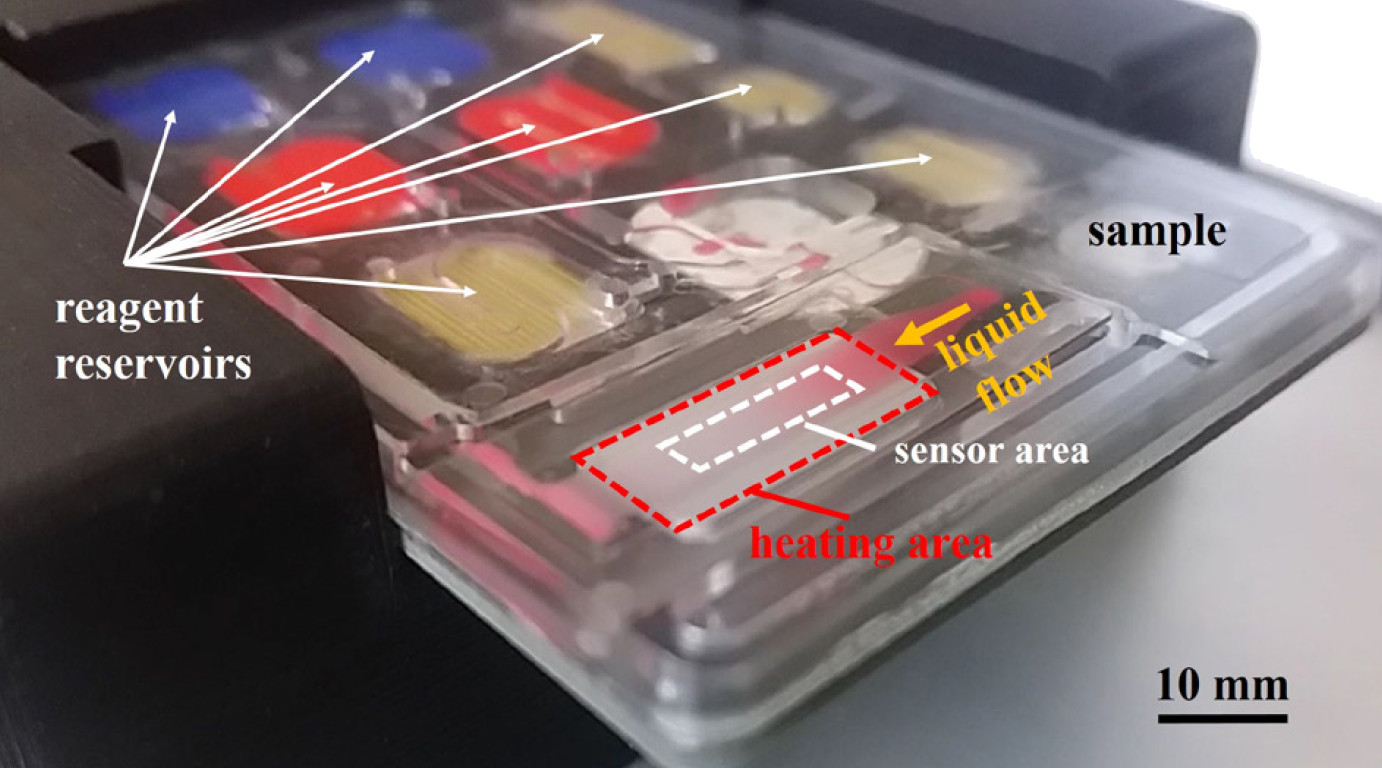
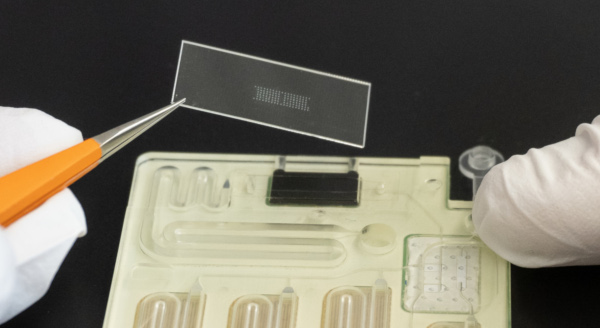
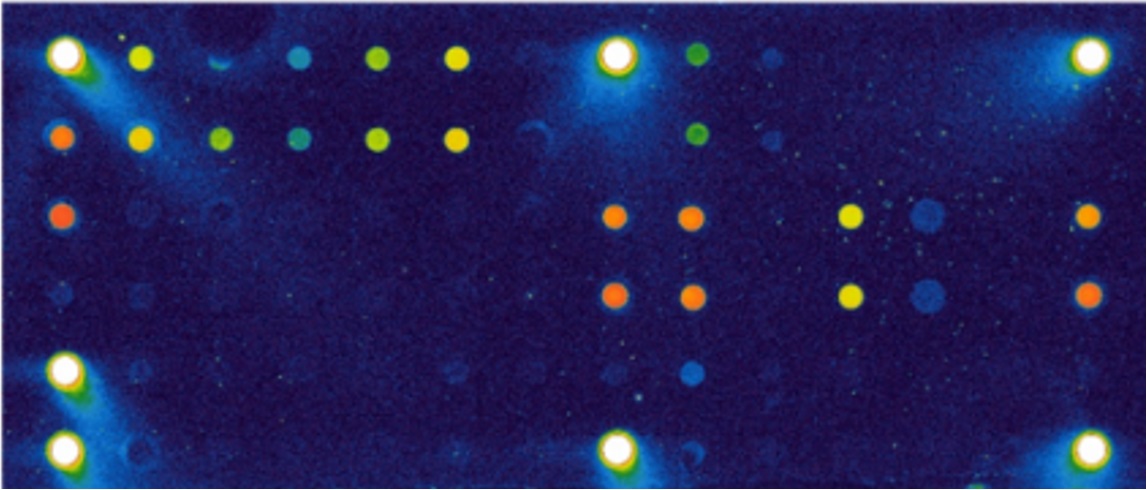
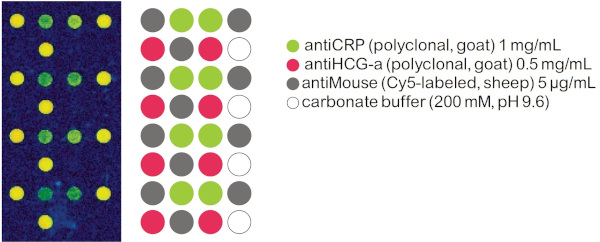
To detect the bound CRP a monoclonal antiCRP(mouse) is used followed by an antiMouse, Cy-5 labeled antibody as marker.
For the experimental set-up the pumping sequence and the allocation of the different reagents, washing buffers and the sample was chosen as follows:
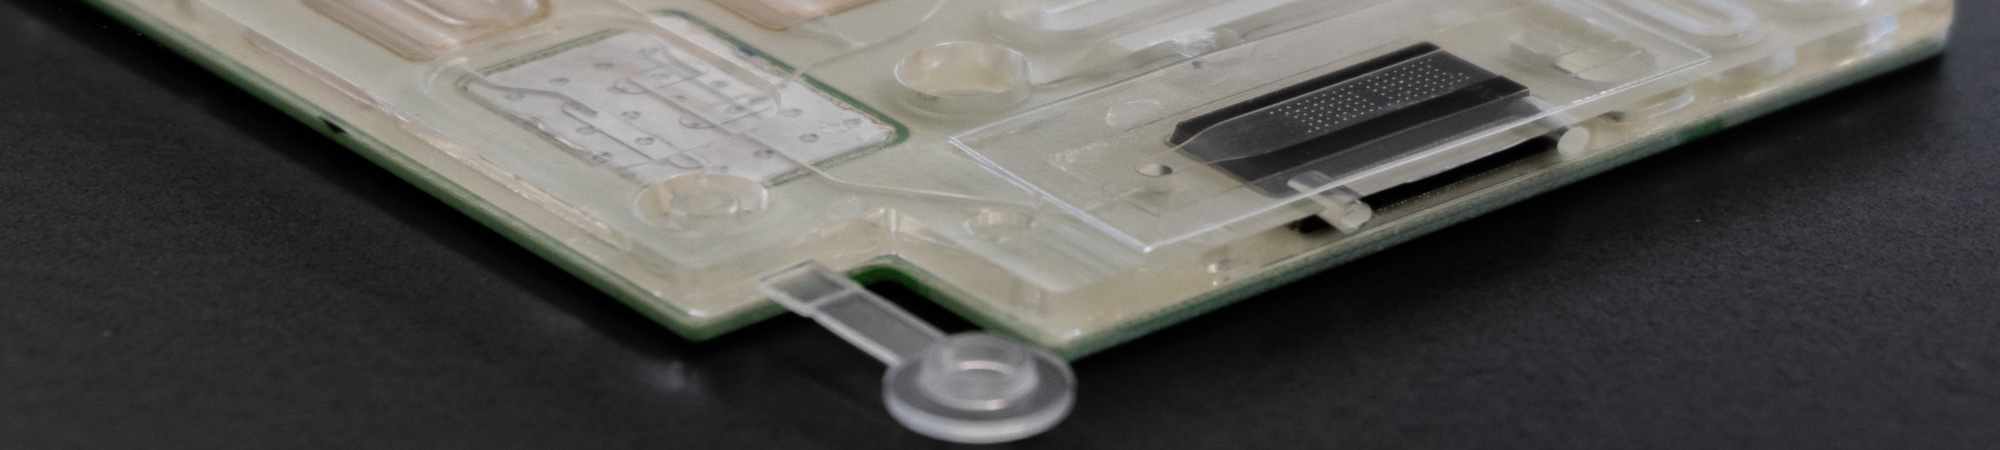
Reagents in the reservoirs
Reservoir 1: CRP sample
Reservoir 2: antiMouse (Cy5-labeled, sheep)
Reservoir 3: milk powder (3%, PBS)
Reservoir 4: deionized water
Reservoir 5: milk powder (3%, PBS)
Reservoir 6: antiCRP (monoclonal, mouse)
Pumping Sequence:
Step 1: Reservoir 3 10 s
Step 2: Reservoir 1 30 s
Step 3: Reservoir 5 30 s
Step 4: Reservoir 6 30 s
Step 5: Reservoir 3 20 s
Step 6: Reservoir 2 20 s
Step 7: Reservoir 4 30 s